
Spring Boot가 아니라 전통적인 Spring 실습하기
STS는 스프링부트를 위한 툴이라 바로 스프링 프로젝트를 생성할 순 없고, 아래의 네 단계를 통해 설정할 수 있다.
1. Dynamic Web Project 생성

Dynamic Web Project를 먼저 생성 후,
2. Maven Project로 Convert하기
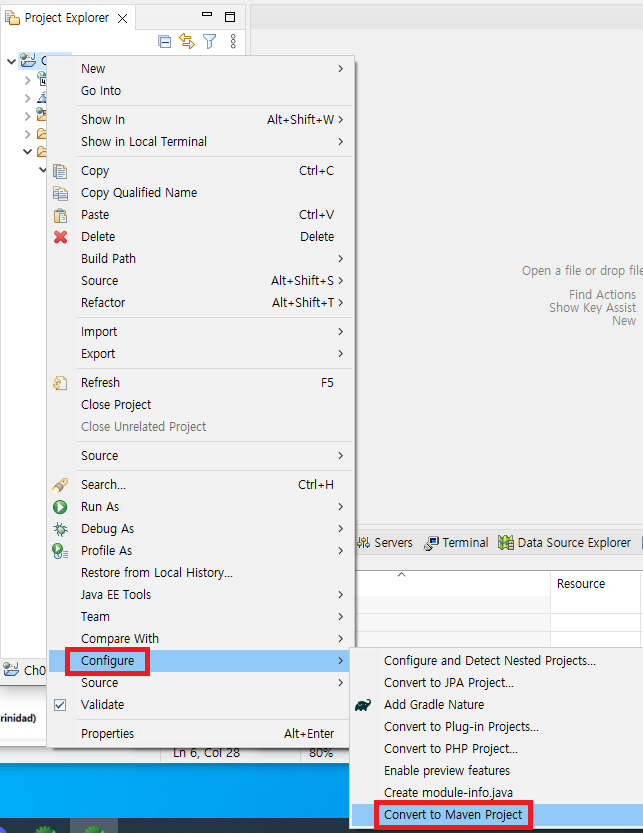
프로젝트 우클릭 - Configure - Convert to Maven Project
메이븐 프로젝트로 컨버팅해준다.
3. Spring Project Nature 추가

4. Spring Namespace Support 설정

프로젝트 우클릭 - Properties - Spring의 Namespace Support - Enable project specific settings 체크 후 Apply
5. application.xml 생성
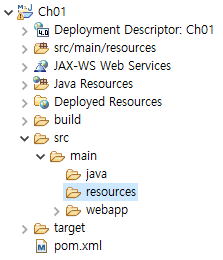
resources 폴더 생성 후, 이 폴더에 application.xml 파일을 생성해준다.
https://docs.spring.io/spring-framework/docs/5.3.30/reference/html/core.html#spring-core
Core Technologies
In the preceding scenario, using @Autowired works well and provides the desired modularity, but determining exactly where the autowired bean definitions are declared is still somewhat ambiguous. For example, as a developer looking at ServiceConfig, how do
docs.spring.io

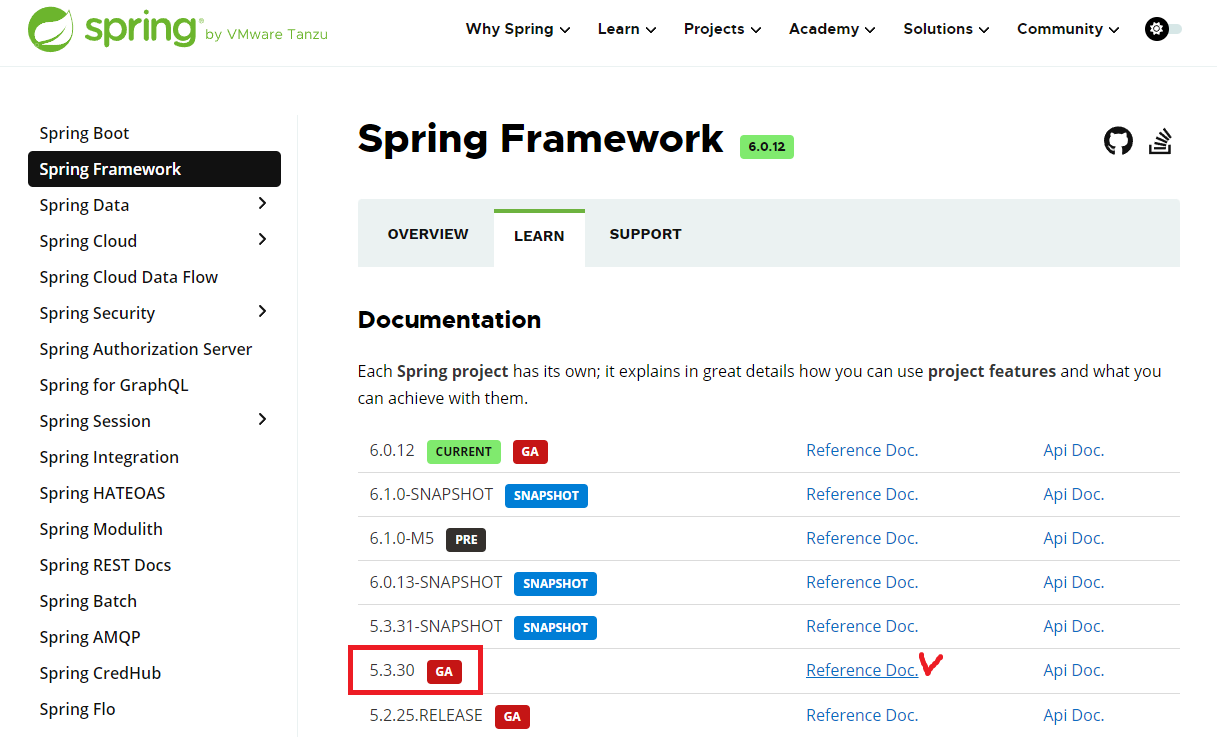
Spring 홈페이지의 Projects - Spring Framework - Learn

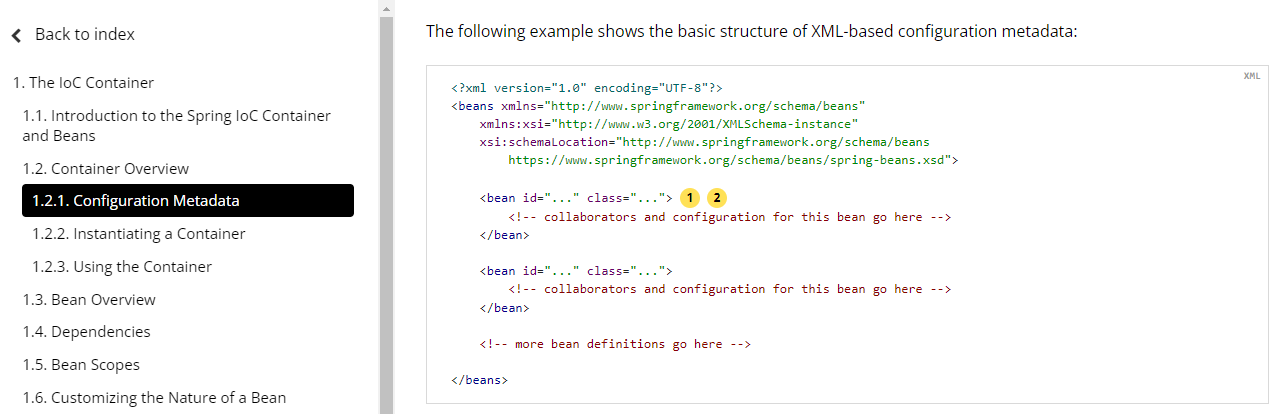
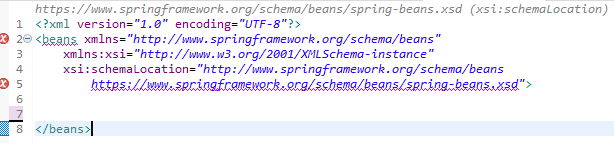
복사하여 생성한 application.xml에 붙여넣었다.
중간의 bean은 추후에 작성할것이기 때문에 지웠다.
(저장 후 닫고 다시 열면 하단에 Namespaces 탭 생김 = Spring 설정파일로 인식된 것)
6. pom.xml :: 라이브러리 추가
IoC/DI 공부 시 spring context만 추가해주면 됨
https://mvnrepository.com/artifact/org.springframework/spring-context/5.3.30
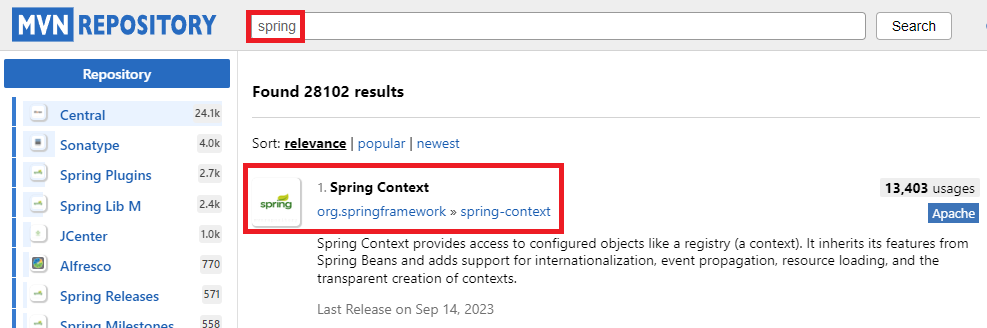
5.3.30 버전을 사용할 것인데 기존에 jar파일을 다운받아서 lib폴더에 넣어주는 것이 아닌,
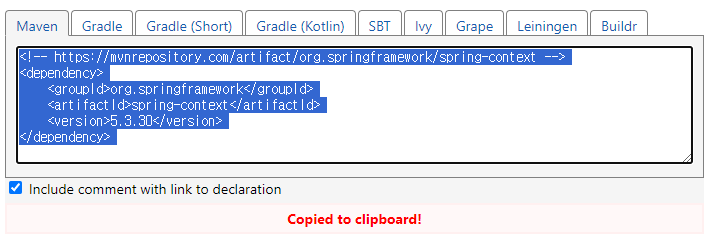
설정 코드를 복사하여 pom.xml 파일에 붙여넣어주면 된다.
pom.xml : 메이븐 설정파일
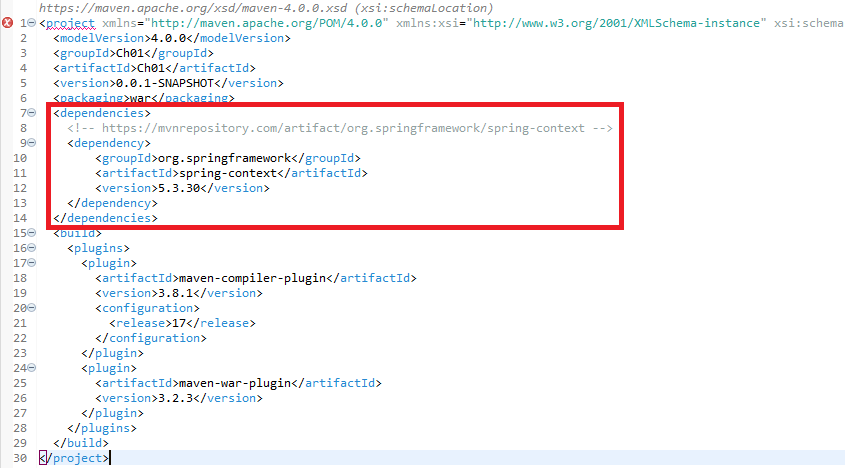
<dependencies> 태그 안에 넣어주었다.
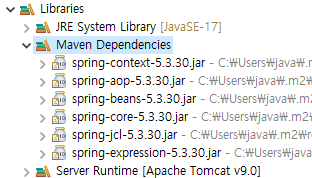
이렇게 자동으로 된다.!